posted by up240.com

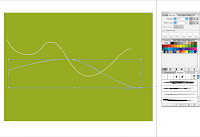
1. Create a solid background, pick the 'Pen' tool and draw 2 overlapping wavy lines.
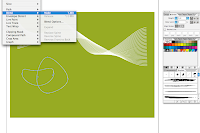
2. Go to the top menu, select 'Blend' and in the submenu 'Blend Options'. Select 'Specified Steps' and change the number to 26.
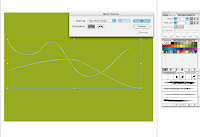
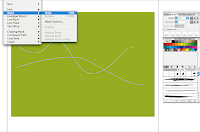
3. Select both of your lines. Go back to the 'Blend' menu at the top and choose 'Make'.
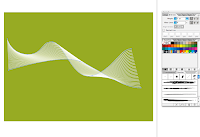
4. This is what the result should look like.
5. Now try a few other shapes. Draw irregular closed curves. Select 'Blend' and 'Make'.
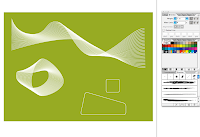
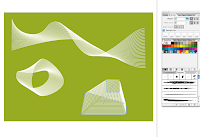
6. Nice! Now try some rectilinear shapes.
7. Finished!
Tip: if you now want to change the shape of your objects, just pick the points along the curves with 'Direct Selection' tool and drag them around. The lines that filled when you created your blends will continue to fill in regular increments.


3 comments:
I'm a student, and I appreciate your tutorials. Thank you. Kathryn
Thanks so much for sharing this simple but effective technique!
I'm quite sure that this will come in handy in some photoshop project later on ;)
Thanks again!
Thank you very much for this nice tutorial. I was able to create relly nice effects.
THX!
Post a Comment