This is a continuation of the 'Adobe Illustrator Tutorial-creating a Pattern & Swatch'.
1. Use artwork created in the previous tutorial.

2. Erase the rectangular background and rearrange the stars and one of the charcoal lines into a linear arrangement.

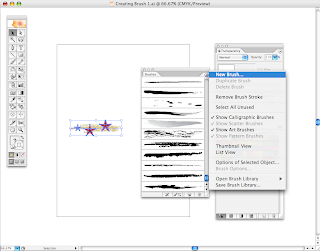
3. Select all the artwork

4. Open the Brushes menu box. Select 'New Brush' option, Calligraphic Brush. Name the Brush and hit 'ok'. At this point new Brush will appear in the Brush menu box.

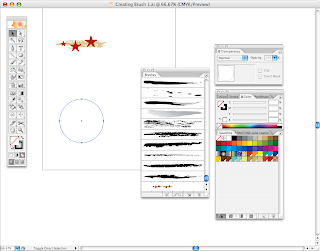
5. With the 'Circle' tool, draw a small circle or any other shape. Then select your new Brush.

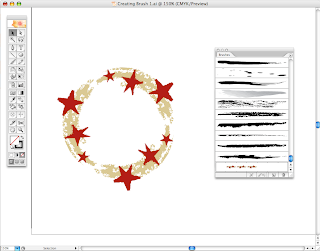
6. This is one example of how a Calligraphic Brush can be used.


No comments:
Post a Comment