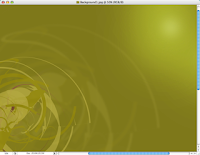
1. Get a digital 'Chaos' download from our website. Make sure you get the eps version for easier color changes and detail manipulation in Adobe Illustrator. Copy the graphic and paste into a newly created Photoshop file.
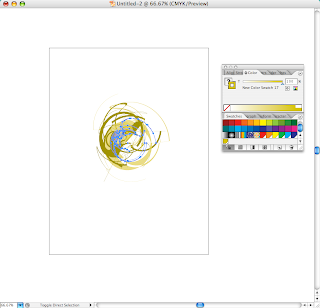
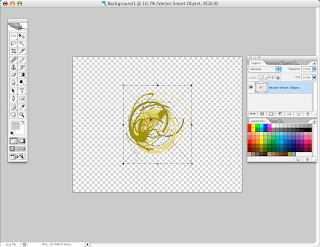
2. Paste it into a Photoshop file as a 'smart object'.
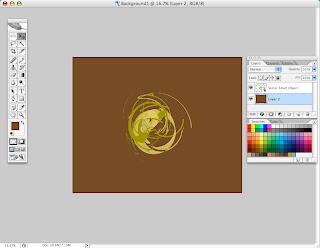
3. Create a new Layer behind the graphic and color it a solid background. In this case we selected a generic brown and will tweak all the colors at the end.
4. Duplicate the Layer with the 'chaos' graphic and scale it up. The new enlarged layer should be placed behind the original graphic.
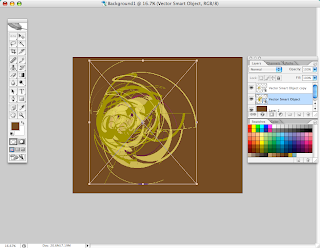
5. Now, lighten the opacity Layer. Go up to Filters menu and apply Gaussian filter to soften the edges.
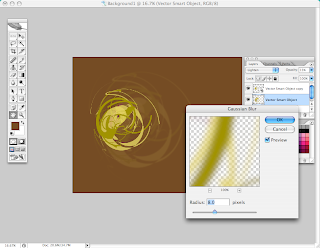
6. Duplicate your newly created blurred layer and scale it up to cover most of the background.
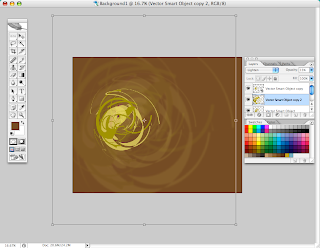
7. In the Layers box, select 'Hard Mix' option which creates a different color and effect. You can apply it to either the 1st blurred layer or 2nd.
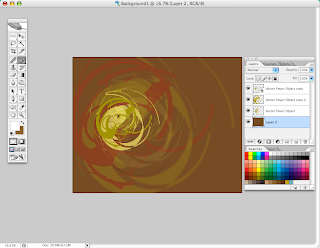
8. Next, using a Brush tool set to 25% opacity and low hardness level (for soft edges), create 'glowing dots'. This adds a lot of depth to the image.
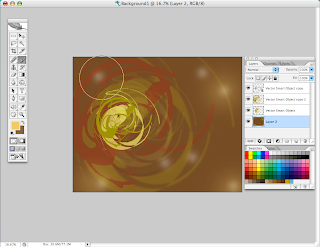
9. Now, repeat the Brush dots but with even less opacity and much larger diameter. Place the new larger dots over the smaller ones you created in step 7.
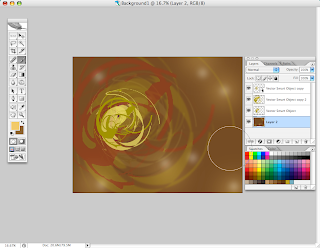
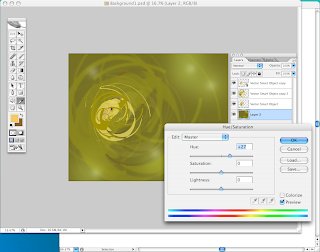
10. Tweak the color to your liking. Do this on your background Layer. Use the 'Edit' - 'Adjustments' - 'Hue/Saturation' commands.
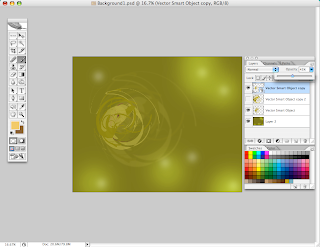
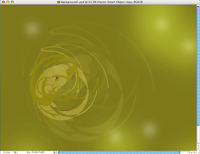
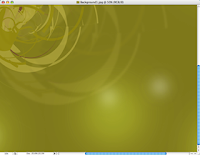
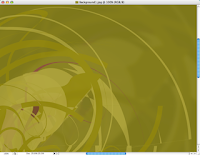
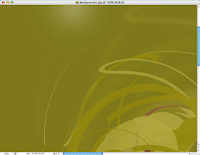
11. You can get a lot of different variations from this image you just created by simply turning some Layers on/off, changing background color or cropping. Our 'chaos' graphics are extremely detailed. See some samples below.



2 comments:
Great tutorials !!! Thats a good job. Thanks for this......
Nice tutorials !!! Thats a good job. Thanks for this posting....
Post a Comment