Sunday, February 3, 2008

Top 10 Graphic Design Resources


Looming deadlines? Demanding clients? Hard to keep up with the workload? Chances are, that just like most of us in the creative industry, at some point of your career you'll find yourself in need of some really awesome graphic design books, shortcuts, templates, tools, tutorials or inspiration, to get your project completed. The good news is that there are plenty of graphic and web design resources available on the internet, for little or no cost. We compiled a 'Top 10" list of what we found to be the most useful, high quality and up-to-date graphic design tools that everyone should bookmark.

posted by up240.com

1. kuler by Adobe. It's all about color: for exploration, inspiration, experimentation and sharing. Great free application, smart and easy to use. It enables you to select color families that work together harmoniously.


2. fotolia A self-proclaimed 'Simply the best deal in stock images, EVER!" Choose from millions of photos and illustrations for $1! We agree. Currently, there are over 3 million images available for instant download.


3. vectorials Graphic software tutorials and web templates. Tutorials, contributed by fellow graphic designers, include tips and tricks for Adobe Photoshop, Adobe Illustrator, Html/CSS, PHP/MySQL, Macromedia Flash and 3D design software.


4. template monster Web templates emporium. Remember that creating sharp websites is the key to turning browsers into buyers.


5. pdf-mags Your pdf mags' Magazine. Covers all design industries from graphics to architecture to fashion and everything in between. Great way to keep learning and expanding while getting inspiration and staying creative. In addition, to pdf mags, all designers should consider subscriptions to Print Magazine and Communication Arts.


6. allgraphicdesign A graphic design education directory with resources and articles for web and graphic designers.

7. stocklayouts Layout templates for print marketing materials.


8. digital-web magazine The web professional's magazine of choice.


9. cssElite CSS gallery and website development resources.


10. psd2html Delivers hand-coded markup to any specification in under 8 HOURS.


Tuesday, January 22, 2008

Download FREE 'Glass' Buttons for Web (15 colors)

Get FREE Adobe Illustrator eps or jpg 'Glass' buttons. Great shortcut! There are 15 round buttons and 15 rectangular. Go to our website up240.com, register and download. You will find these under 'Free Downloads' Category. Enjoy!

posted by up240.com

Using Blend Tool - Create Phasing Waves & Warps

In this tutorial, you can learn how to create Phasing Waves with the 'Blend' tool in Adobe Illustrator. It's a neat little trick that you can use for any of your graphic design projects. (Or... if you want to skip all the steps and just get this cool vector image for FREE, go to our website up240.com, register and download).

posted by up240.com


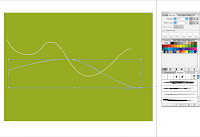
1. Create a solid background, pick the 'Pen' tool and draw 2 overlapping wavy lines.


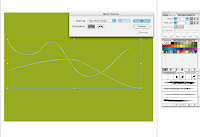
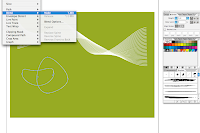
2. Go to the top menu, select 'Blend' and in the submenu 'Blend Options'. Select 'Specified Steps' and change the number to 26.


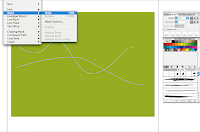
3. Select both of your lines. Go back to the 'Blend' menu at the top and choose 'Make'.


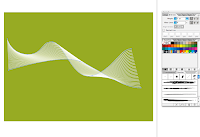
4. This is what the result should look like.


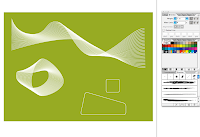
5. Now try a few other shapes. Draw irregular closed curves. Select 'Blend' and 'Make'.


6. Nice! Now try some rectilinear shapes.


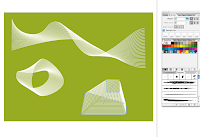
7. Finished!
Tip: if you now want to change the shape of your objects, just pick the points along the curves with 'Direct Selection' tool and drag them around. The lines that filled when you created your blends will continue to fill in regular increments.

Monday, January 14, 2008

Photoshop Tutorial - Chaos Background

In this tutorial, you can learn how to create a 'Chaos' digital background in Adobe Photoshop for your graphic design projects. (Or... if you want to skip all the steps and just get this cool background for a minimal fee, go to our website up240.com, register and download).


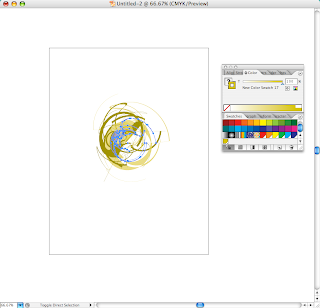
1. Get a digital 'Chaos' download from our website. Make sure you get the eps version for easier color changes and detail manipulation in Adobe Illustrator. Copy the graphic and paste into a newly created Photoshop file.


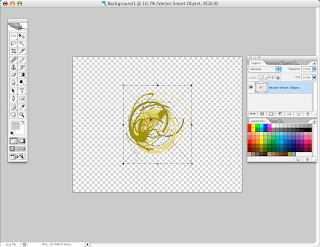
2. Paste it into a Photoshop file as a 'smart object'.


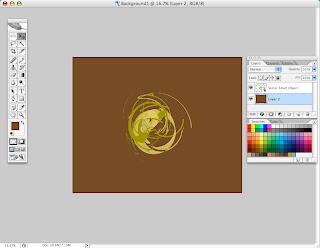
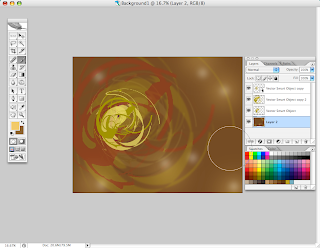
3. Create a new Layer behind the graphic and color it a solid background. In this case we selected a generic brown and will tweak all the colors at the end.


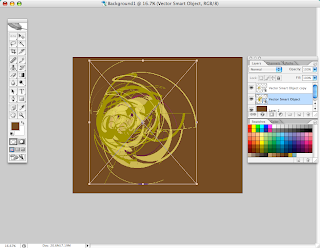
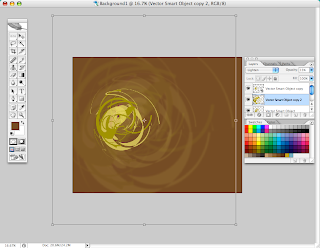
4. Duplicate the Layer with the 'chaos' graphic and scale it up. The new enlarged layer should be placed behind the original graphic.


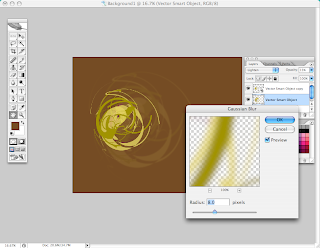
5. Now, lighten the opacity Layer. Go up to Filters menu and apply Gaussian filter to soften the edges.


6. Duplicate your newly created blurred layer and scale it up to cover most of the background.


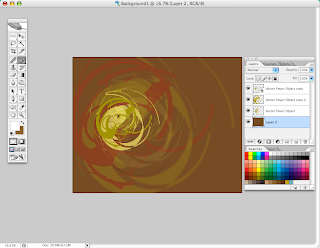
7. In the Layers box, select 'Hard Mix' option which creates a different color and effect. You can apply it to either the 1st blurred layer or 2nd.


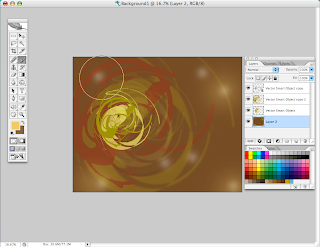
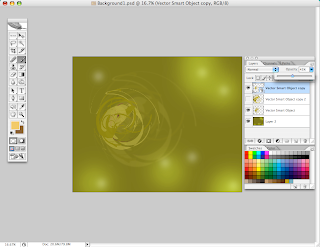
8. Next, using a Brush tool set to 25% opacity and low hardness level (for soft edges), create 'glowing dots'. This adds a lot of depth to the image.


9. Now, repeat the Brush dots but with even less opacity and much larger diameter. Place the new larger dots over the smaller ones you created in step 7.


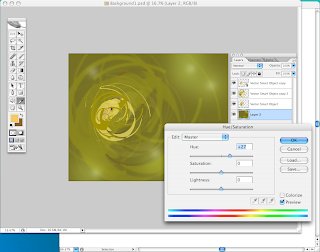
10. Tweak the color to your liking. Do this on your background Layer. Use the 'Edit' - 'Adjustments' - 'Hue/Saturation' commands.


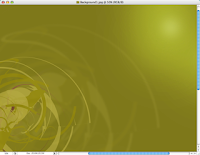
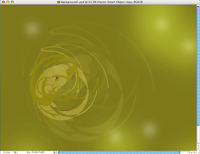
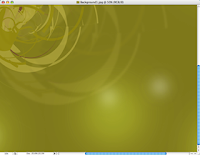
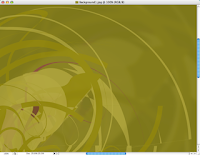
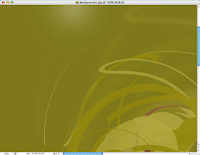
11. You can get a lot of different variations from this image you just created by simply turning some Layers on/off, changing background color or cropping. Our 'chaos' graphics are extremely detailed. See some samples below.


Sunday, January 13, 2008

Adobe Illustrator Tutorial - create a Brush 1

Here, you can learn how to create a Brush for your graphic design projects. (Or... if you want to skip all the steps and get the free Brush, go to our website up240.com, register and download).

This is a continuation of the 'Adobe Illustrator Tutorial-creating a Pattern & Swatch'.


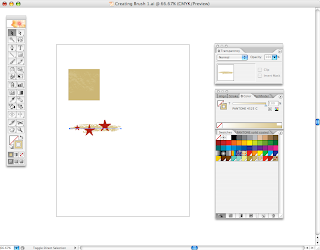
1. Use artwork created in the previous tutorial.


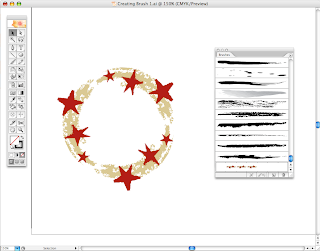
2. Erase the rectangular background and rearrange the stars and one of the charcoal lines into a linear arrangement.


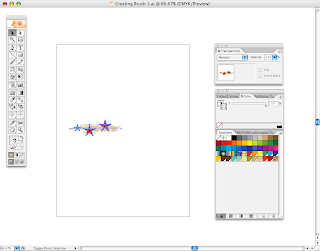
3. Select all the artwork


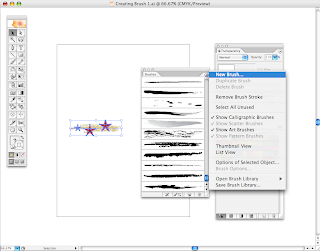
4. Open the Brushes menu box. Select 'New Brush' option, Calligraphic Brush. Name the Brush and hit 'ok'. At this point new Brush will appear in the Brush menu box.


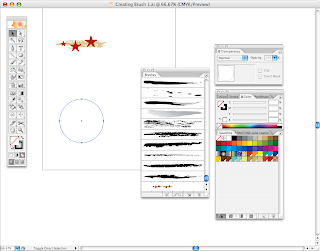
5. With the 'Circle' tool, draw a small circle or any other shape. Then select your new Brush.


6. This is one example of how a Calligraphic Brush can be used.


Adobe Illustrator Tutorial-create Pattern & Swatch

For all you graphic designers and illustrators out there! This quick Adobe Illustrator Tutorial will show you how to create a pattern and a swatch that can be easily used over and over on all your projects. Enjoy!
posted by up240.com

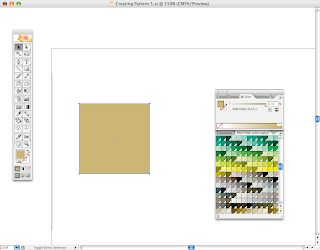
1. Using the 'Rectangle ' Tool create a 2"x2" square box and fill it will color of your choice.


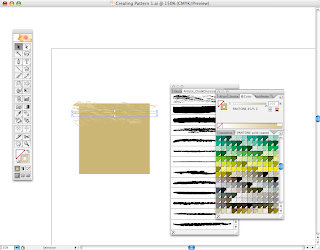
2. Next, use the 'Pen' tool to draw a straight line. From the Window menu pull up the Brushes menu and change your line to one of the charcoal-looking settings. The color of the line is a shade lighter than the background rectangle to create a distressed texture.


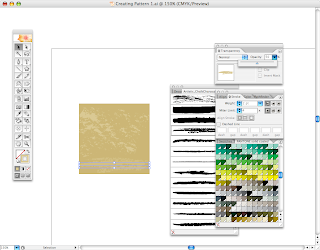
3. Now copy and paste that line a few times to have the texture cover the rectangular background.


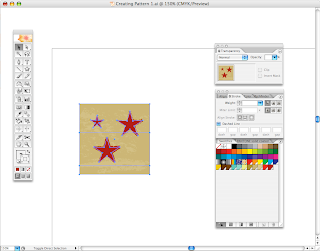
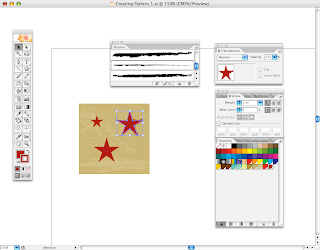
4. With the 'Star' tool draw a 5 point star and color it a rich red color.


5. Create a stroke outline around the star by selecting Stroke 1pt and a charcoal Brush. Outline should be of the same color as the star. This gives the star a rough edge look.

6. Copy and Paste the star a few times and reduce the scale of one of them.


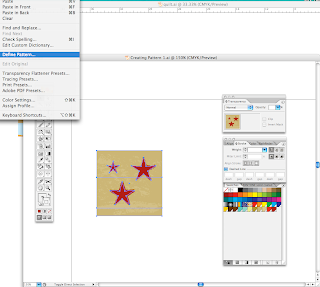
6. Select all the artwork you just created and go to top Edit menu. Select 'Define Pattern'. Name your pattern and click 'ok'. At this point a new Swatch appears in your Swatches tool box.


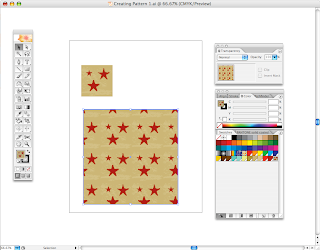
7. Draw a large rectangle and fill it in using the new Swatch you just created. The result should look as follows:


8. Congratulations!
Now look at our other tutorial on Creating a Brush with the same artwork you just created.

DRM - selling stock images online

A friendly stranger contacted me last week, informing me that my site is in need of 'disabling mouse right-click' ability for my visitors and customers. I consider myself a cautious business owner of a digital download stock illustration web site and so even though i know i took the basic necessary steps to secure my art work, i thought i'd look into this a bit further.

Majority of my efforts in securing my site and my digital stock patterns went into preventing illegal downloads of my high resolution files. I guess i never lost any sleep over the tiny thumbnail previews shown on my up240.com site which, as the friendly stranger stated, are available for anyone to download.

My first thought was to immediately look into disabling the right-click function for all my customers. However, after doing some research, i found out that if someone is determined, even if everyone is prevented from doing the 'save as' function via mouse right-click, they can enable it right back with minimal maneuvering through their computer preferences.
Also, disabling this function creates a slew of other problems like inability to scroll and annoying reminder windows popping up every few seconds. I think in the end this would make the customers annoyed and not wanting to ever come back.

It would seem that the best way for any online store to manage security of its digital products previews, is watermarking all stock illustrations, photos, templates and clipart. Details of each can be blown up and cropped to small sections so that customers can have a good look at what they are buying. Our artwork at up240.com has the most value at high resolution and as vector eps formats. The small thumbnails, i suppose could be used as digital wallpaper for web projects, but really, with such low resolution i don't think anyone could do much more than that.

Adobe Illustrator Tutorial-glass shadow

For all you graphic designers and illustrators out there! This quick Adobe Illustrator Tutorial will show you how to drop a shadow on a reflective surface. Enjoy!
posted by up240.com


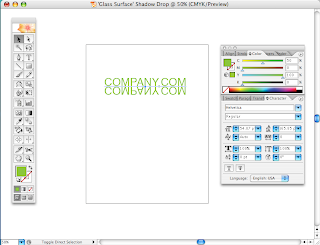
1. With a Text Tool type a word or company name.


2. Now, select your Text and with 'Reflect Tool' flip it along the Horizontal axis.

Hit the 'Copy' button instead of 'OK'.


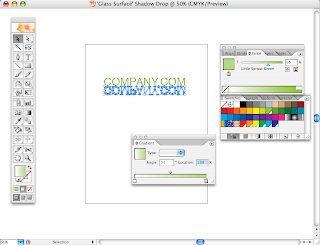
3. Select your newly reflected text. Go to Type Menu at the top and select 'Create Outlines'.


4. Now, the reflected text needs to be colored as a Gradient. Set the Gradient direction to 90 degrees. One side of Gradient color should be white and the other should match the original text for which you are dropping the Shadow.


5. Almost finished! Move the 'shadowed' image a little bit down from the original text.


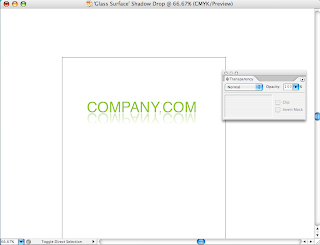
6. The dropped shadow-text in step 5 is too dark, so Using the 'Transparency' tool, take the opacity down to about 60%. Now it's completed!